After photographing independent cafes and restaurants across Dallas-Fort Worth, I have noticed that the gap between a "fine" restaurant photo library and a genuinely useful one always comes down to the same ten things. None of them are secret. All of them are overlooked.
1. Shoot in the light the restaurant actually serves in
A lot of food photography is shot with strobes and reflectors in a daylight-simulating setup. That produces a clean image, but it also produces an image that does not match what the food looks like on the table at 7 PM in the actual room. For independent restaurants, the more honest move is to shoot in the dominant service light — window light for lunch places, warm tungsten for dinner-service restaurants — and let the images feel like the room.
The camera does not need to lie for the food to look good. It needs the right angle and the right moment.
2. Photograph food when it is ready to eat, not when it looks most sculptural
A burger looks most architectural right after assembly. It looks most edible thirty seconds later, when the bun relaxes and the edges soften. Great food photography catches food at the moment you want to eat it, not before it. That usually means shooting a dish two or three times across a few minutes.
3. The plate rim is doing too much work
Unless the rim is part of the aesthetic, crop tight enough to remove it. White plate rims on white tables blow the eye straight past the food. Tight crops on the food itself, with a bite taken out, are almost always more compelling than a full-plate overhead.
4. One hero angle per dish
Overhead, 45-degree, and straight-on all exist for a reason. But for any one dish, one of those three is the right hero. Picking three for every dish dilutes the menu. Commit to the angle that best shows that dish's shape — overhead for pizzas and flat-lays, 45-degree for most plates, straight-on for layered things like burgers and parfaits.
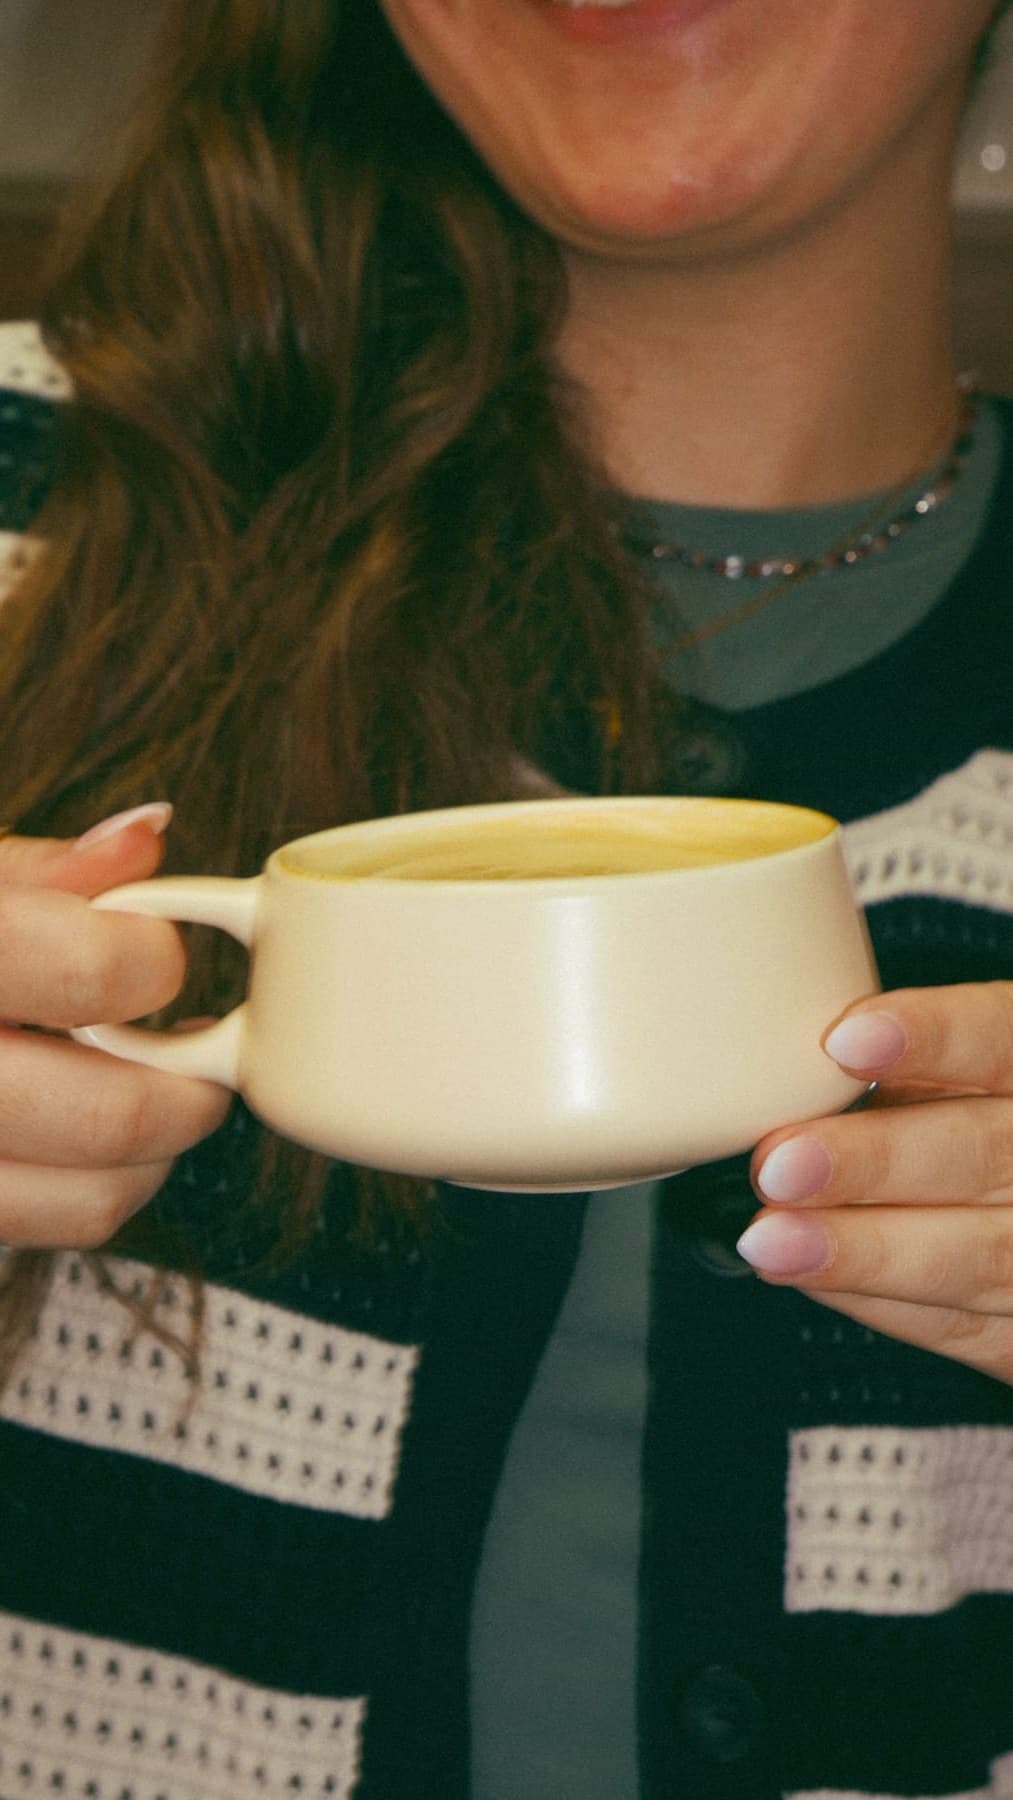
5. Hands in the frame
The single fastest way to make food photography feel alive is to put a human hand in the frame — pouring, reaching, holding. Not a model with a manicure; a real server or a real customer or a real kitchen hand. Candid over staged every time.
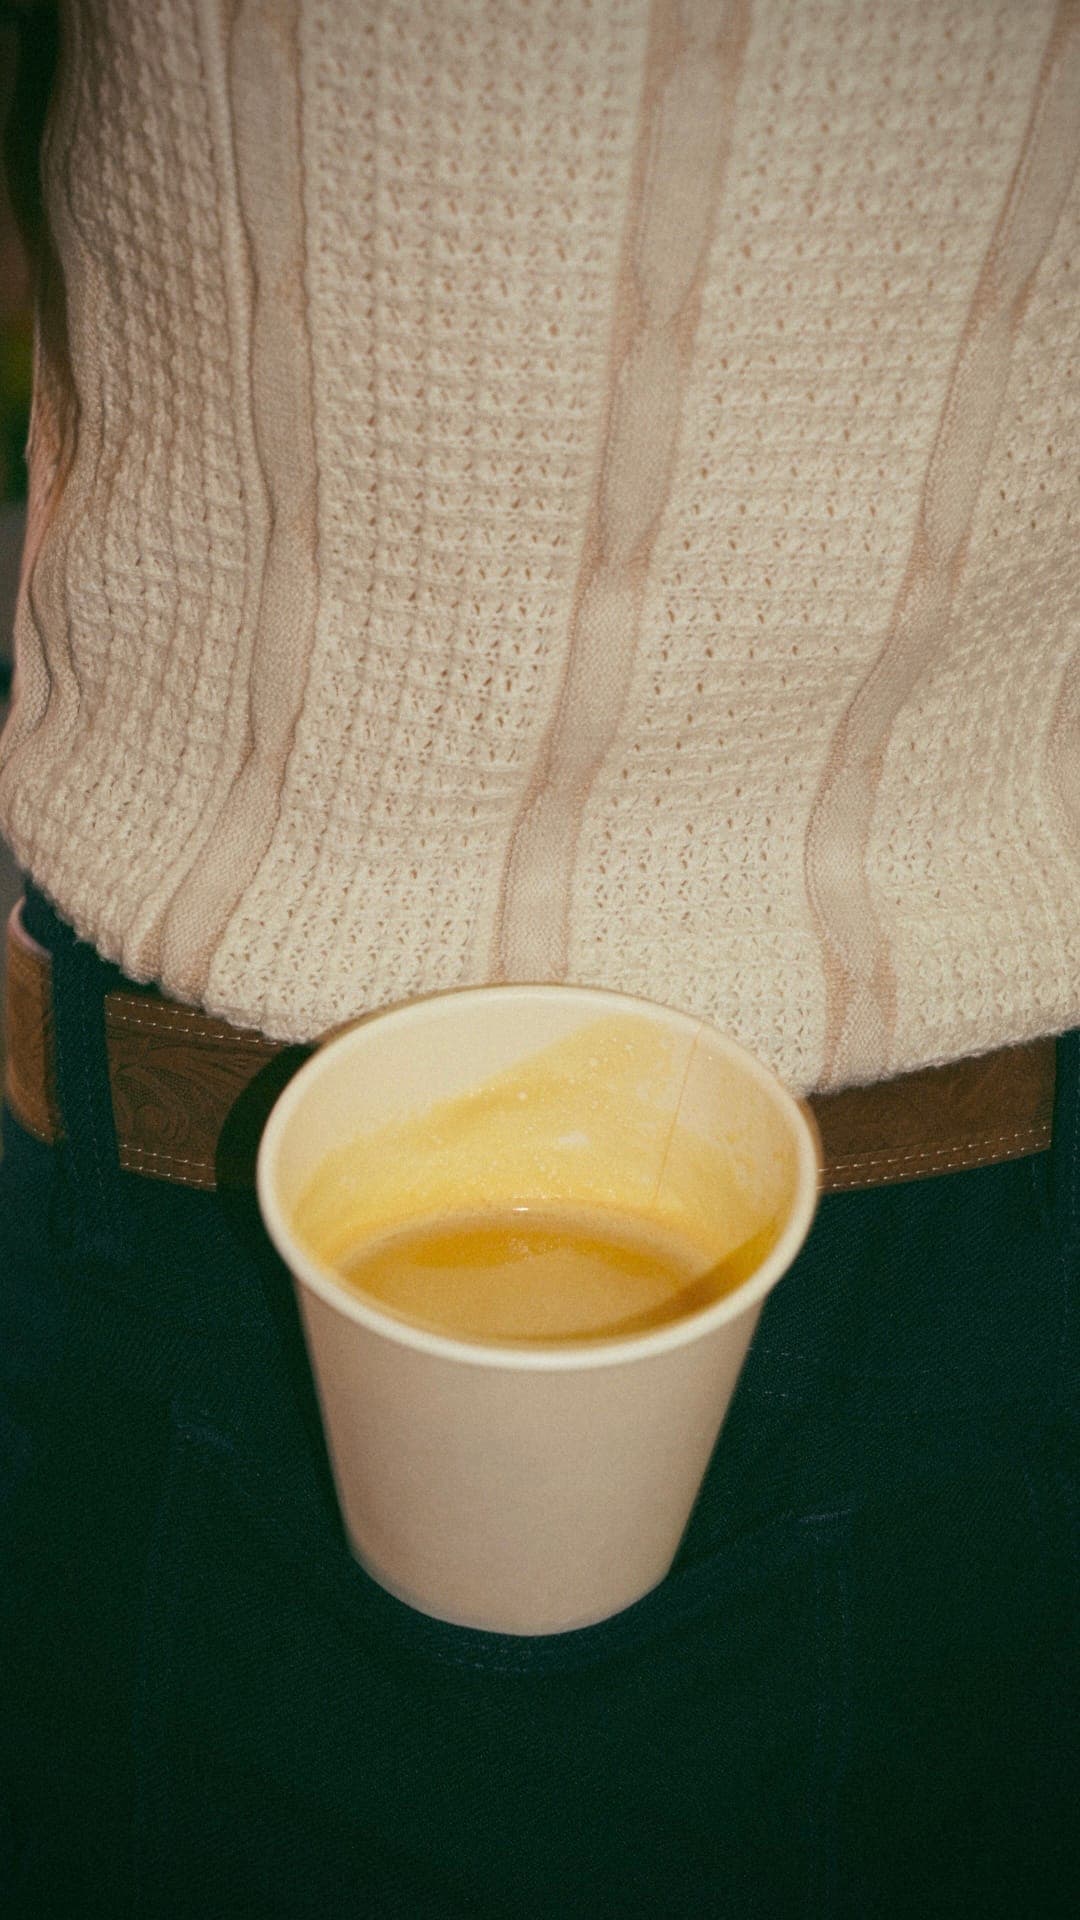
6. Shoot the drink separately
Drinks are almost always better shot as a separate setup, not alongside food. They need back-lighting to show the liquid; food needs side-lighting. Combining them in one frame usually means compromising both. Plan a 20-minute block for drinks only.
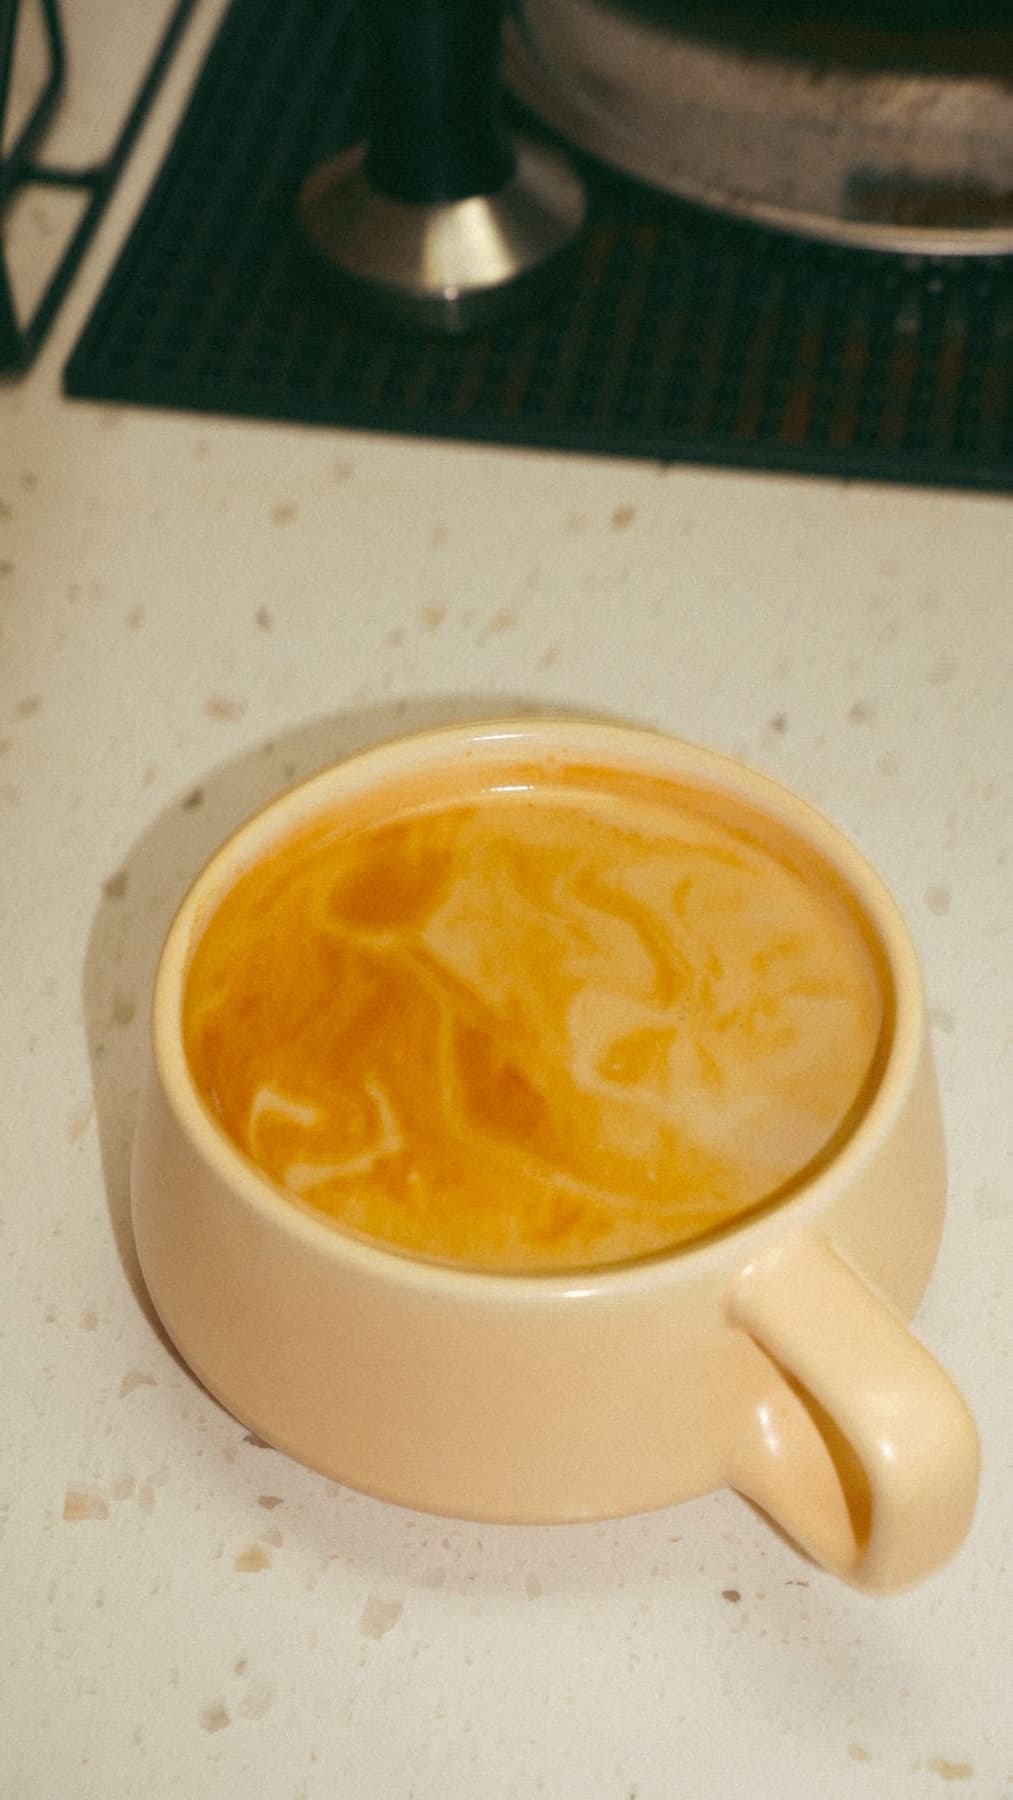
7. Show the environment alongside the food
Pure food photography without any context of the restaurant makes the restaurant interchangeable with any other restaurant. The best menu libraries include a handful of shots that connect the food to the room — a plate on the bar, a drink with the patio in soft focus behind it, an overhead shot that includes a corner of the menu or a neighbor's hand at the next table. That is what makes a menu page feel like this restaurant.
8. Over-shoot the same dish at different paces
A first-bite shot. A half-eaten shot. A nearly-empty-plate shot. These three images, together, tell a story that a single hero cannot. Budget 15 minutes for a featured menu item to capture the arc.
9. Light the steam, do not fake it
Steam from hot food is gorgeous on camera if the light hits it from behind. A small window or a rim-light behind the plate is usually enough. Faking steam with a vape pen or a cotton-ball-in-microwave trick almost always looks fake. Time the shoot for when the food is actually hot.
10. Sequence the delivery gallery, do not dump it
When the gallery arrives, it should be organized by story: a short sequence for each menu section or each type of image (hero dishes, sides, drinks, environment, people). A dumped folder of 200 photos is not a library; it is an inbox. Ask the photographer to deliver a sequenced gallery so the restaurant team can find the shot they need in 30 seconds.
Bonus: the menu layout test
The ultimate test of a restaurant food library is whether it can lay out a menu — online, printed, on a menu board — without looking repetitive. If every dish photograph looks the same (same angle, same light, same cropping), the menu reads as flat. The 10-item checklist above is really a checklist for variety: different angles, different paces, different levels of environmental context. That variety is what turns a shoot day into a year of menu marketing.
A great food library is not about a hero shot. It is about a menu that feels like the restaurant.