The gap between a good brand session and a great one is almost always prep. The camera is the same, the photographer is the same, the light is the same — what changes is how ready the space and the team are when the shutter starts clicking. Here is a full checklist to run through in the seven days before a shoot.
One week out
Deep clean the space. Every brand photographer has stories of arriving to a "clean" space and finding dust on the light fixtures, fingerprints on glass, and scuff marks along the baseboards. The camera sees everything. Budget an hour for the kind of clean you would do before a health inspection.
Check the lights. Turn on every light the day before. Replace any bulbs that are dim, flickering, or the wrong color temperature. Mixed color temperatures (warm table lamps + cool overhead) are hard to correct in post and show up as weird skin tones on people in the frame.
Sort the "hero" products. Pick 5-10 products you most want photographed and set them aside. Check them for scratches, chips, fingerprints, and off-center labels. Polish glass, remove price stickers, re-wrap anything that looks tired.
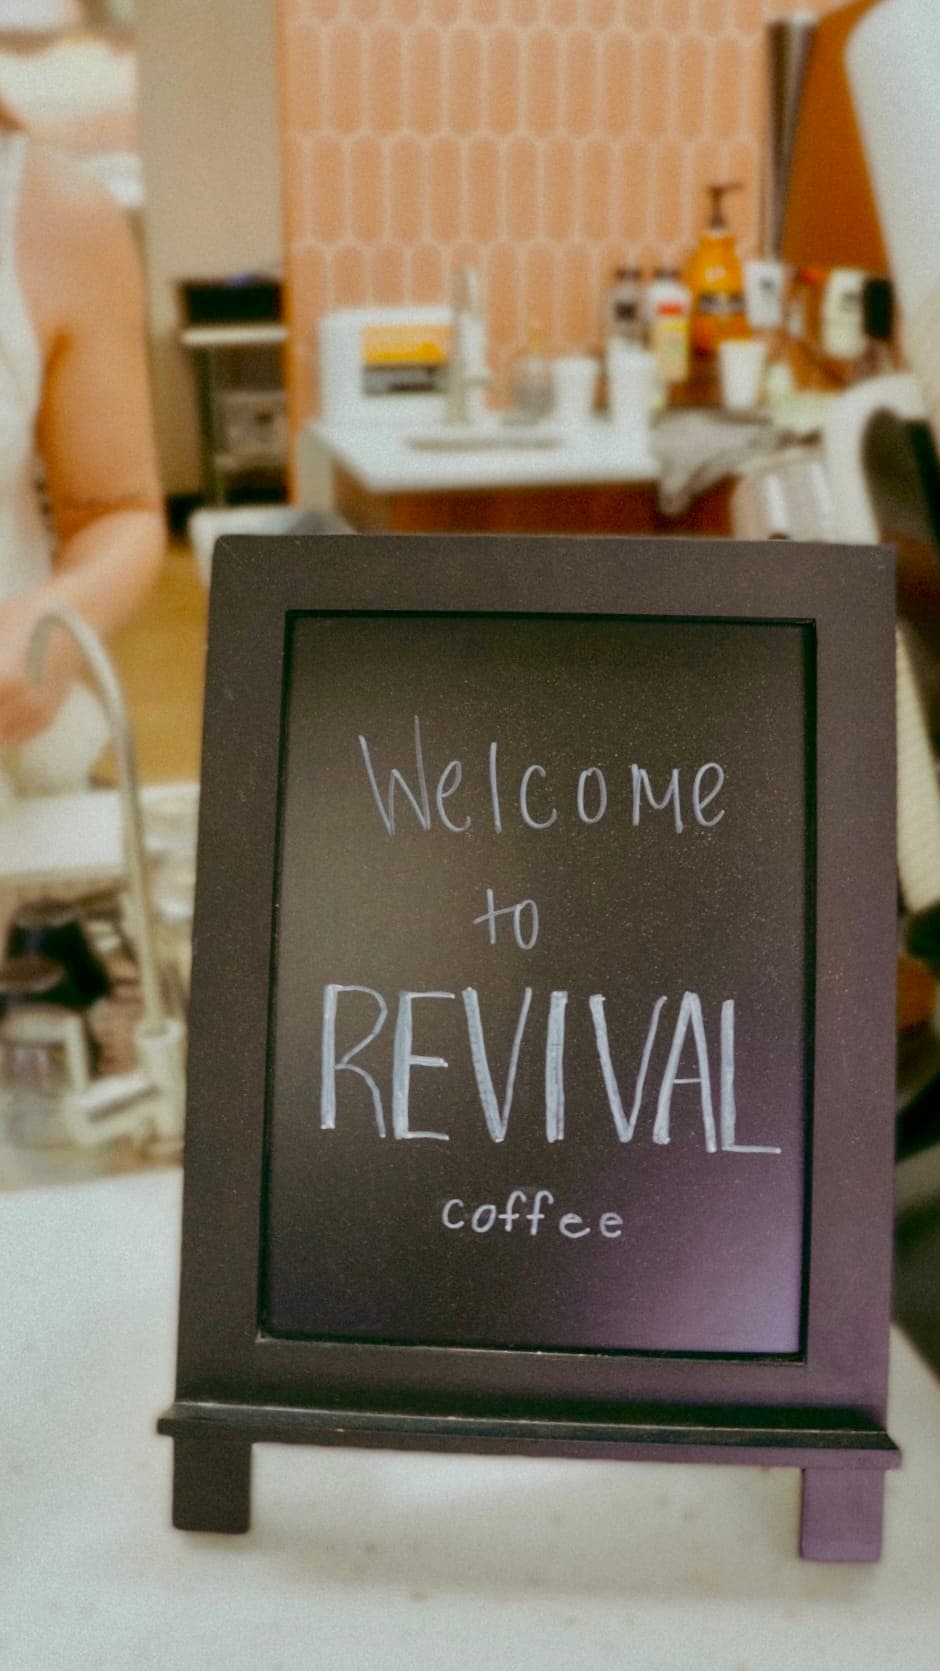
Confirm the shot list. Send the photographer one final version. Include any must-have shots (an exterior sign photo for Google Business Profile, a specific menu item, a team portrait for the about page).
Three days out
Schedule your team. Who needs to be on site, and when? A coordinated hour of "everyone on deck" is much more useful than five people drifting in and out. For small teams: pick two or three 45-minute windows where specific people are scheduled.
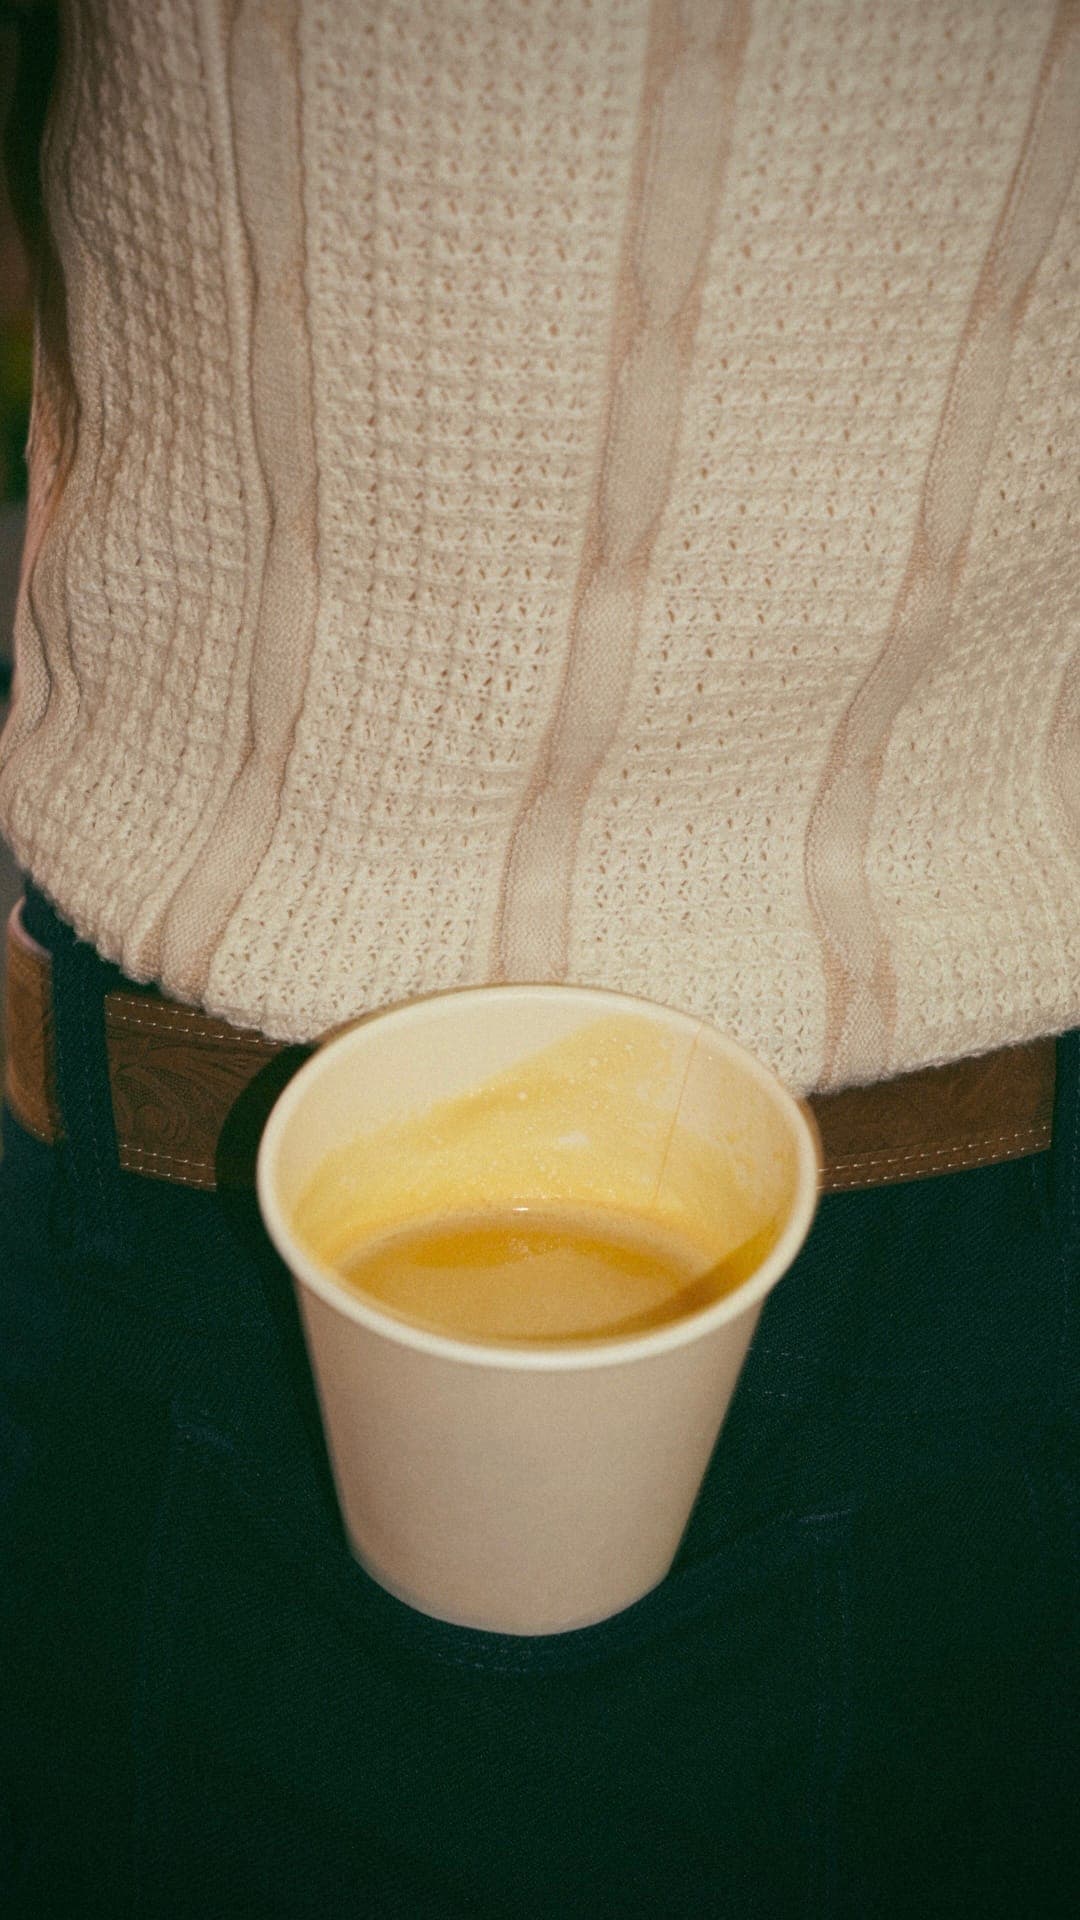
Confirm wardrobe. Solid mid-tones photograph better than busy patterns or neon brights. Black shows every lint fleck; white blows out in bright light. Earthy mid-tones (cream, terracotta, sage, navy, rust) are the safest bet. Everyone should bring 2-3 outfit options.
Buy coffee and water. Sounds small; matters a lot. A well-caffeinated team produces better candid photos than a tired one.
The day before
Walk the space with fresh eyes. Better yet, have someone who has never been there walk through and point out anything odd — a stack of cardboard boxes in the corner, a yellow extension cord, a pile of mail. Everything visible in a photograph should be on purpose.
Stage the props. If the shoot includes lifestyle scenes (someone reading a menu, hands making a latte, a staged retail display), set up the hero version the day before and photograph it with your phone. Send it to the photographer. This saves an hour of staging on the shoot day.
Charge everything. Phones, laptops, tablet POS systems that will appear in photos — make sure screens are on and showing real content, not the boot screen.
The morning of the shoot
Arrive early. Get the space warmed up — literally. A cold restaurant at 8 AM reads very different from the same restaurant at 10 AM with the espresso machine steaming.
Turn off overhead fluorescents. Natural window light plus selective warm accent lights beats overhead fluorescent every single time. If fluorescents have to stay on, the photographer will work around them, but expect more post-production.
Stage the first three shots before the photographer arrives. This gets the rhythm going and means you are not starting cold.
During the shoot
Trust the photographer. You hired them for their eye. The moments that look "weird" mid-shoot (unusual angles, long pauses, the photographer waiting five minutes for a specific light) are usually the ones that produce the hero images.
Stay available but not hovering. The photographer will tell you when they need you in frame, when they need a specific product pulled, or when a detail needs to change. Between those moments, give them room.
Keep shooting through lulls. The slow, quiet moments when nothing is happening are often when the best brand photographs are made. Do not stage-manage the energy; let it be real.
After the shoot
Do not panic about the preview images. Almost every photographer sends a handful of sneak peeks within 24-48 hours. These are the fastest edits, not the best ones. The final gallery will be noticeably stronger.
Start listing where each image will go. As you review the final gallery, tag each image for a destination: homepage hero, about page, menu item 3, Instagram grid row 4. This saves a week of decision-making later.
Plan the re-shoot cadence. For most small businesses, a strong brand library lasts 12 months before it starts feeling repetitive. Put a reminder on the calendar now for the follow-up session.
Prep is boring and unglamorous and it is the single biggest predictor of how good the final gallery will be. Spend the week.